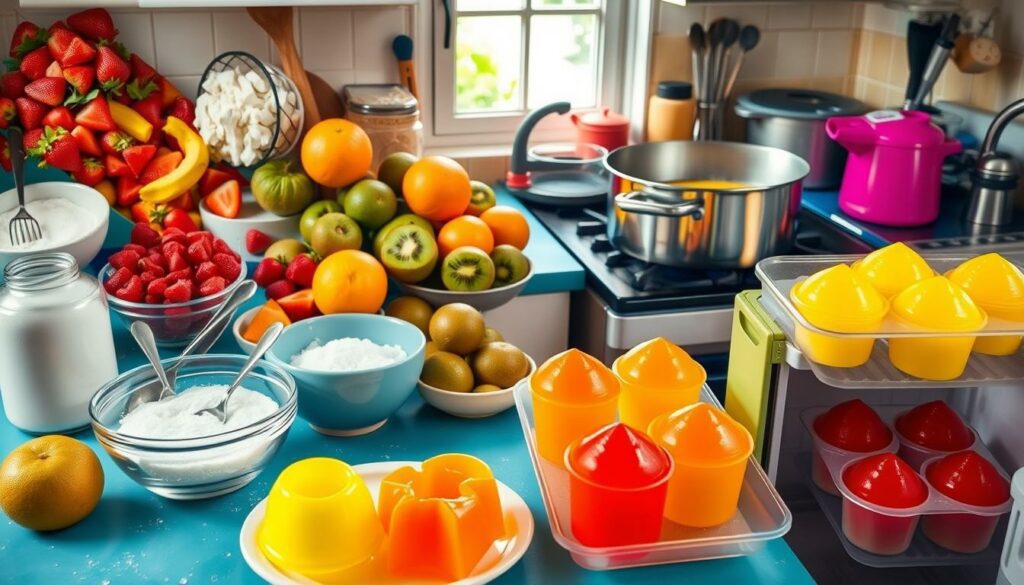
Have you ever tasted a chewy jelly fruit snack that made your taste buds dance? These colorful treats can take us back to warm afternoons filled with sweet delight. Making your own DIY jelly fruit is not only fun but healthier than store-bought ones.
This easy jelly fruit recipe lets you enjoy natural flavors from ripe fruits. You can choose what goes into your snack, making it as sweet as you like. This guide will show you everything to make jelly fruit right at home.
Table of Contents
Introduction to DIY Jelly Fruit
DIY jelly fruit is now a big hit with home cooks and families looking for fun, easy snacks. This guide will show you how to turn fresh fruit juices into jellied delights. It’s a great activity for everyone in the family.
Making jelly fruit is simple and fun, perfect for involving kids in the kitchen. It encourages creativity and results in a tasty, healthy snack. By using fresh juices, these treats are full of vitamins and antioxidants. So, they’re a guilt-free way to enjoy something sweet on hot days.
DIY jelly fruit is perfect for parties or just to make snack time more exciting. You can customize these treats in many ways, creating different shapes, colors, and flavors. Start making these delicious treats and wow your friends and family!
Why You Should Make Homemade Jelly Fruit
Exploring the benefits of homemade jelly fruit shows us a world of tasty options. Making your jelly fruit at home gives you control over what’s inside. You can pick fresh, quality fruits and avoid the artificial stuff and too much sugar found in store-bought products. This way, you get a guilt-free treat because you know exactly what’s in it.
Making jelly fruit lets you be creative in the kitchen. You can try out different flavors and textures. Use fruits that are in season or ones that meet your dietary needs. If you want it less sweet, just reduce the sugar or go for natural sweeteners like honey. Making your jelly fruit lets you create a fun and healthy snack.
The best part about making jelly fruit is how versatile and fresh it tastes. Whether you use gummy bear molds or LEGO shapes, making these jellies is fun for everyone. With a simple recipe, you can make up to 40 mini jellies. They’re perfect for lunchboxes or as a snack in the afternoon.
The process of making jelly fruit is simple. All you need are a few basic items like fruit juice, gelatin, and maybe some sweeteners. You can use fresh juice, kombucha, or leftover fruit to make a delicious dessert while cutting down on waste. Plus, these homemade snacks can stay fresh for a week if you keep them in an airtight container.
| Feature | Homemade Jelly Fruit | Commercial Jelly Products |
|---|---|---|
| Ingredient Control | High-quality, fresh ingredients | Artificial flavors and colors |
| Customization | Unlimited flavor combinations | Limited choices |
| Health Benefits | Nutritional advantages (e.g., gelatin) | High sugar content |
| Longevity | Lasts up to a week | Varies by product |
Making homemade jelly fruit is rewarding and tasty. It’s a smart snack choice that satisfies your cravings while supporting a healthier lifestyle.
Essential Ingredients for Jelly Fruit
Making jelly fruit at home? You’ll need the right ingredients. A mix of tasty fruit juices, sweeteners, and acid makes perfect jelly. These elements work together for that special jelly consistency and flavor.
Fruit Juice Options
Start by picking your favorite fruit juice. Whether it’s orange, strawberry, blueberry, or kiwi, each adds a unique taste. You’ll want about 8.5 ounces (250ml). If you choose a tart fruit like apples or cranberries, you might not need extra pectin. These fruits add perfect texture naturally.
Sweeteners: Honey and Sugar
Sweeteners help balance the flavors. You can add 4 to 8 tablespoons of sugar or honey. Adjust it based on how sweet your fruit juice is. This makes your jelly just right. Sometimes, you might skip sweeteners altogether.
Importance of Lemon Juice
Lemon juice is a game-changer for your jelly. It’s not just an add-on. One tablespoon for every 2 cups of juice can do wonders. It balances the sweetness and boosts flavor. Mix these ingredients well, and you’ll have delicious, texture-perfect homemade jelly.
How to Make DIY Jelly Fruit?
Making your own jelly fruit is both fun and rewarding. By using the right amounts and techniques, you can make yummy jelly. This guide will teach you how to make delicious jelly fruit. You’ll also learn what mistakes you should not make.
Step-by-Step Instructions
- Prepare your ingredients: Get everything you need for your jelly. For raspberry jelly, gather 250g/ml of seedless raspberry purée, 10g of yellow pectin, 60g and another 225g of granulated sugar, 70g of liquid glucose, and 10g of lemon juice. For passion fruit jelly, just use seedless passionfruit purée instead.
- Bloom the gelatin: Mix gelatin with cold water. Wait a few minutes until it’s ready.
- Heat the mixture: Put your purée, sweeteners, and lemon juice in a pan. Warm it up slowly, stirring until the sugar is gone. Don’t let it boil.
- Add the gelatin: When warm, add your gelatin. Mix well until it’s all dissolved. This is key for the right jelly texture.
- Pour into molds: Pour your mix into molds. Make sure the top is even for a smooth set.
- Chill and set: Refrigerate your molds for a few hours. They need to be completely set for the perfect texture.
Common Mistakes to Avoid
- Overcooking the mixture: High heat can ruin the texture, making your jelly too soft.
- Neglecting proper measurements: Wrong amounts of ingredients result in jelly that doesn’t form well.
- Not allowing enough time to cool: Give your jelly enough time in the fridge to set right.
- Forgetting to use fresh ingredients: Always use fresh purées for the best flavored and consistent jelly.

This guide makes making jelly fruit easier. Avoid the common errors for a dessert everyone will love.
Choosing the Right Equipment for Making Jelly Fruit
Making jelly fruit means you need the right tools and ingredients. It’s important to choose the right molds and tools. These make your jelly look and function better. Here’s a guide on selecting the best molds and vital tools for jelly making.
Recommended Molds
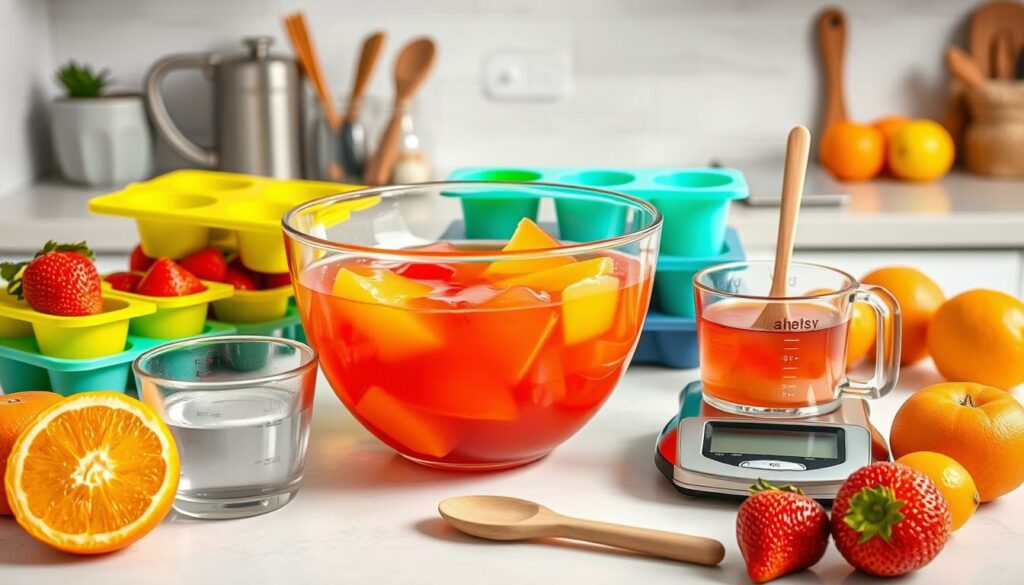
The molds you choose can make your jelly fruit look amazing. Silicone molds are best for this. They make it easy to get the jelly out without ruining its shape. Other good choices are:
- Ice trays – Great for making small jelly fruit pieces.
- Baking dishes – Used for bigger servings. You can cut these into squares.
- Custom-designed molds – Perfect for making jellies in special shapes.
Other Useful Kitchen Tools
Along with molds, you’ll need some other tools to make jelly fruit smoothly. Here is a list of must-have equipment:
| Tool | Purpose |
|---|---|
| Small saucepan | Used for heating up fruit mixtures and sugar. |
| Whisk | Mixes ingredients well together. |
| Knives | Needed for cutting and preparing fruits. |
| Candy thermometer | Checks temperature to get the right jelly texture. |
| Funnel | Avoids messes when putting the mixture into molds. |
Having these tools makes it easier to create amazing jelly fruits. Get creative with how you serve them. Using pretty glassware for serving will make your dessert stand out.

Creative Flavor Variations for Your Jelly Fruit
Exploring flavors for jelly fruit can lead to unique recipes that excite your taste buds. Start with tropical mixes like mango, pineapple, and lychee. These combinations feel like a sunny beach escape. If you love berries, try blueberries, strawberries, and raspberries for a summer delight.
Experiment with surprising flavors to lift your jelly fruit creations. Add herbs like mint or basil for an unexpected twist. A cucumber jelly with mint can be refreshing on a warm day. Kiwi can add a tangy zest to your jelly, keeping it brightly colored.
Using seasonal fruits opens up many flavor possibilities. Mix berries with peaches in autumn or combine apples with beets in winter for tasty jellies. Choose fresh juices to boost flavor and nutrition.
Check out this table for flavor ideas:
| Flavor Profile | Ingredients | Notes |
|---|---|---|
| Tropical Delight | Mango, Coconut Milk, Lychee | Sweet and creamy, perfect for summer gatherings. |
| Berry Bliss | Blueberries, Strawberries, Raspberries | Vibrant and refreshing, great for breakfast. |
| Herbaceous Twist | Cucumber, Mint, Lime | Refreshing herb-infused jelly, ideal for warm days. |
| Unexpected Blend | Kiwi, Pear, Basil | Unique flavor combination with a zesty kick. |
| Seasonal Surprise | Peaches, Apples, Beetroot | Explore different fruits based on the season. |
The suggested flavors not only taste great but inspire creativity. Feel free to tweak ingredients based on what you like or have. Making homemade jelly allows you to be creative and enjoy the process. Create your own jelly fruit recipes to wow your friends and family.

Storage Tips for Homemade Jelly Fruit
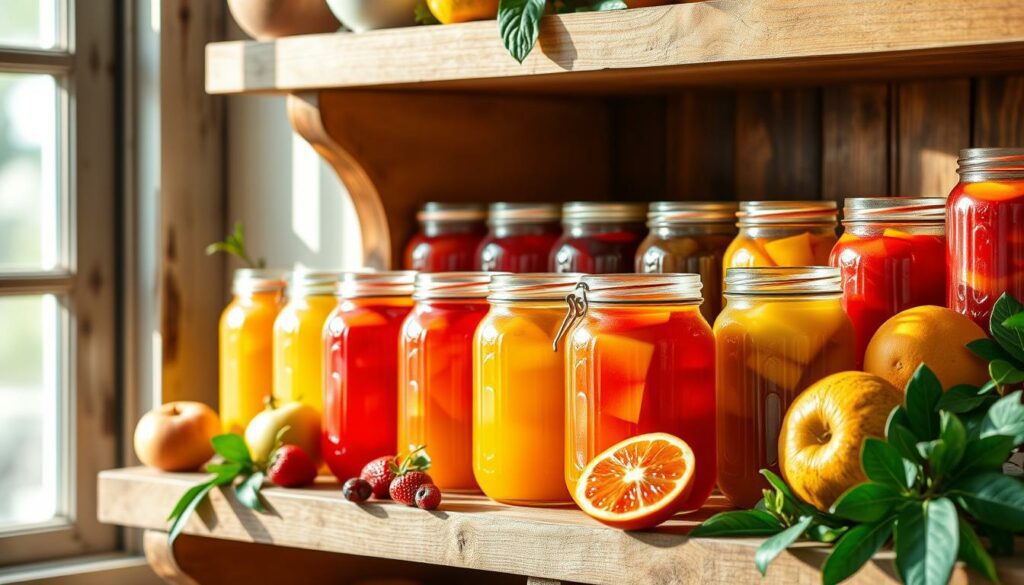
To keep your homemade jelly fruit fresh, storage matters a lot. Make sure it’s in an airtight container. This stops it from drying or getting fridge smells. Keeping it refrigerated is key once you’ve opened it.
When you seal it right, homemade jelly lasts in the fridge for six months. But it’s best to enjoy it within weeks for the best flavor and texture. If you haven’t opened it, you can keep it in your pantry for about a year. This works well because of sugar and heat during making.
The pH of your jelly fruit is important, too. It should be 4.6 or lower for safe water bath canning. This stops bad bacteria like botulism. While most fruits are good for canning, some like bananas and melons aren’t. If your fruit is low in acid or too ripe, add one tablespoon of lemon juice per cup of fruit. This increases the acidity.
Make sure to check your jelly fruit for signs of spoilage. Look out for bad smells, tastes, mold, or the ingredients separating. If you see any of these, throw the jelly away to stay safe.
For more tips on jelly making and keeping it tasty, check out this detailed guide. These tips will help you keep your jelly fruit fresh to enjoy anytime.

Key Takeaways
- Making DIY jelly fruit allows for healthier ingredient choices.
- Different fruits provide various levels of natural pectin and acidity, impacting gel formation.
- Know which fruits to use and what additional ingredients are necessary for the best texture.
- Homemade jelly fruit can be customized to fit your dietary needs.
- Fully ripe fruits may require mixing with under-ripe fruits for optimal gelling.
- Gelatin is not suitable for vegan diets; consider fruit alternatives for a vegan jelly option.
- Special equipment like a blender can simplify the jelly-making process.
Conclusion
Making your own jelly is a rewarding experience. It lets you control the ingredient quality and taste. Selecting fresh fruits like apples, pears, and plums, and trying out flavor mixes makes the process fun and simple. In a few steps, you can make tasty jellies. These can enhance your meals or impress your guests.
Creating jelly fruit is easy and enjoyable. You can use apple peels for their color and taste or commercial pectin to make it quicker. There’s a way for every cook. The fun is in the making, sharing, and connecting with other jelly enthusiasts.
Start your jelly-making adventure today. Gather your ingredients and gear. Every batch is a chance to be creative and to make treats that everyone will love. Share your creations and inspire others. Don’t hold back!
FAQ
What is DIY jelly fruit?
DIY jelly fruit is a snack you can make at home. It’s made from fruit juice, sweeteners, and gelling agents such as pectin or gelatin. Making it yourself means you know exactly what’s in it. It’s a better choice than store-bought snacks.
What are the main ingredients needed to make jelly fruit?
To make jelly fruit, you’ll need around 250ml of your favorite fruit juice. You’ll also need pectin, a sweetener like honey or sugar, and some lemon juice. These ingredients help create the jelly’s flavor and texture.
Can I customize the flavors of my jelly fruit?
Yes, customizing jelly fruit flavors is easy. Try different fruit juices or add herbs like mint. Seasonal fruits can also give your jelly unique tastes.
How long does homemade jelly fruit last?
Homemade jelly fruit can stay fresh for a few weeks if you store it right. Keep it in an airtight container in the fridge. Just remember, exposure to air and temperature can shorten its shelf life.
Is making jelly fruit a good activity for kids?
Absolutely! Kids love making jelly fruit. It’s a fun way to teach them about cooking. Plus, they get to enjoy a tasty snack after.
What kitchen equipment do I need to make jelly fruit?
You’ll need some basic tools like a small saucepan, whisk, and knives for cutting fruit. Silicone molds or similar containers will help shape your jelly fruit and make it look great.
What are some common mistakes to avoid when making jelly fruit?
Don’t overcook the mix; it can ruin the texture. Also, give the jelly enough time to set. Following the instructions closely will give you the best texture and taste.
Can I use alternatives to gelatin for making jelly fruit?
Yes, for a vegan option, use gelling agents like kanten (agar) instead of gelatin. This way, you’ll still get that perfect jellied texture and make everyone happy.

