The smell of fresh bread filling your home is deeply comforting. It brings back memories of family, warm kitchens, and enjoying homemade meals. But what if your bread isn’t rising well? You’re not alone in wanting a perfect rise.
Mastering bread rise can greatly improve your baking. We will give you tips, talk about yeast, and baking soda for better rising. Knowing these techniques will make your bread fluffy and delicious, like from your favorite bakery. so How to Make Bread Rise More.
Table of Contents
Understanding Yeast: The Key Leavening Agent
Yeast is vital for making tasty bread. This tiny organism is a key leavening agent. It starts the fermentation process, changing sugars into carbon dioxide and alcohol. This process makes the bread rise. It gives bread a light and fluffy texture, which bakers love.
There are different types of yeast, like active dry yeast or instant yeast. They give bread unique flavors and textures. The yeast eats the sugars helping the bread to rise and taste great. The right balance of temperature, moisture, and time is crucial. It ensures the fermentation works well, key for perfect bread.
Knowing how yeast works boosts your confidence in the kitchen. It lets you try out various recipes and adjust yeast amounts. Understanding yeast means better baking skills and more delicious bread.

| Yeast Type | Characteristics | Usage |
|---|---|---|
| Active Dry Yeast | Dormant granules that require activation in warm water. | Commonly used in bread making. |
| Instant Yeast | Can be mixed directly into dry ingredients without prior activation. | Ideal for quick bread recipes. |
| Fresh Yeast | Creamy texture; requires refrigeration. | Preferred by artisan bakers for its flavor. |
Different Types of Yeast for Bread Making
Choosing the right yeast is key in bread making. There are different yeasts you can use. Each type affects your bread’s taste, texture, and success. Knowing how they differ helps you pick the best one for your baking.
Dry Yeast vs. Fresh Yeast
Dry yeast and fresh yeast both have their perks. Dry yeast comes in easy-to-use sachets. It remains inactive until mixed with warm water, making it a favorite among those who bake at home. Fresh yeast, though with a shorter life, mixes directly into flour. It offers a unique taste but must be stored correctly to keep its strength. Here’s how they compare:
| Type of Yeast | Form | Storage | Shelf Life |
|---|---|---|---|
| Dry Yeast | Sachet | Room temperature (unopened), fridge/freezer (opened) | Approximately 2 years |
| Fresh Yeast | Block | Refrigerated | 1 to 2 weeks |
Understanding Active Dry Yeast
Learning about active dry yeast is crucial for bakers. It’s known for its reliability. Active dry yeast lasts around two years, giving you lots of time to use it. It keeps for six months unopened at room temperature, and even longer in the fridge once opened. Proofing is needed with active dry yeast, unlike with instant yeast. Instant yeast is faster because it doesn’t need to be dissolved first. Here’s the summary:
- Stable shelf life of around two years.
- Can be stored at room temperature for six months unopened.
- Eliminates the need for proofing, saving time.
- One packet generally raises a loaf quicker than active dry yeast.

What Can I Use to Make My Bread Rise More?
Looking for ways to make your bread lighter and taller? There are many alternatives to traditional yeast. Bakers often ask how to get a better rise in their bread. Baking soda is a great option for quick breads that don’t need much time to rise.
Baking Soda: An Alternative Leavening Agent
Baking soda makes bread rise by reacting with acidic ingredients like yogurt or vinegar. This creates carbon dioxide bubbles that make the dough grow. It’s a good choice if you don’t want to wait for yeast. Remember, the right mix of acids is key to a great rise with baking soda.
Natural Leavening Methods
Natural methods like sourdough starters add unique flavors to your bread. They rely on wild yeast to develop over weeks, creating a tangy taste. It takes about three to four weeks for a starter to be ready. This method not only boosts rise but also gives your bread a special texture and flavor. Using natural techniques can truly improve your baking game.

Temperature Control: The Secret to Successful Rising
Getting the temperature right is key for a great loaf of bread. Yeast activates best between 100°F and 110°F. This heat starts the yeast off without harming it. You must watch the dough’s temperature closely. A thermometer helps keep the fermentation in the ideal range.
The Ideal Water Temperature for Yeast Activation
Make sure your water is warm, between 100°F and 110°F, to activate yeast. Too cold, and the yeast won’t wake up. Too hot, it dies. Yeast does its best work making dough rise at 75°F to 80°F. Knowing these temperatures means better bread taste and texture.
Creating a Warm Environment for Dough
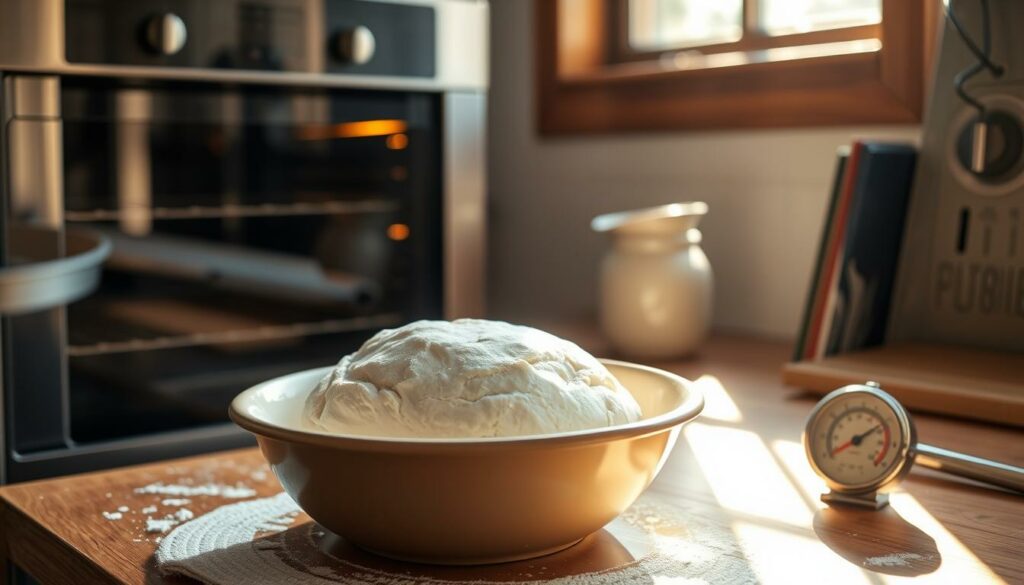
To warm dough properly, lightly heat your oven, then turn it off. Put your dough in for gentle warmth. Or, use a seed germination mat or a Brod & Taylor Proofing Box at around 80°F. This makes a great rising space. But watch it! Too hot, and bread rises too much, spoiling texture and flavor. Aim to keep the room at 70°F to 72°F for the dough.

Kneading Techniques for Better Dough Development
Kneading is vital in bread making. It greatly impacts how the gluten develops. By kneading, you turn sticky dough into silky smoothness. This is key for a light, airy loaf. Knowing how long to knead the dough can make your baking better.
Importance of Gluten Development
Gluten makes the bread’s structure and texture. Well-kneaded dough leads to soft, fluffy, and chewy bread. If not kneaded enough, the dough is lumpy and doesn’t rise well. The windowpane test tells you if the dough is ready. Ideally, it stretches thin without tearing. Good gluten development lets the dough hold gas and rise correctly.
How Long Should You Knead Your Dough?
The kneading time differs with each recipe. Some breads need just 3-5 minutes, others up to 10-15 minutes. Kneading by hand takes longer than using a stand mixer. Be careful not to over-knead, especially with heavy dough in a mixer. Watching the dough as you knead ensures the right structure. Plus, it’s a rewarding experience.
Proven Bread Proofing Techniques
Proofing bread is a key step. It lets the dough rise and flavors develop. Using the right bread proofing techniques makes a big difference in your bread’s texture and taste. A steam-filled environment for dough helps keep it moist, supporting a good rise. Oven proofing creates a perfect spot for your dough to expand.
How to Create a Steam-filled Environment
For optimal proofing, creating a steam-filled environment for dough is key. You can do this by putting boiling water in a bowl inside your oven with the dough. This approach keeps the atmosphere moist, aiding the dough’s rise. It’s great for keeping things warm in the winter or for better hydration overall.
Using the Oven for Proofing
Oven proofing can be done in several ways. Turning your oven to its lowest setting, around 100°F, and putting your dough inside with hot water works well. This maintains humidity and keeps the dough warm, between 75°F and 78°F, which is ideal for yeast to work and flavors to develop. Checking the dough now and then ensures it rises well. For precise control over temperature and moisture, think about getting an electric dough proofer. It’s especially useful for those who bake at home.
For more on bread proofing techniques, including help with problems and time tips, check out detailed resources.
| Environment Type | Temperature (°F) | Humidity Level | Recommended Method |
|---|---|---|---|
| Oven with Boiling Water | 100 | High | Place dough inside with water bowl |
| Electric Dough Proofer | 75-78 | Controlled | Use for consistent proofing |
| Water Heater/High Shelves | Warm | Low | Place dough on top or near |
| Preheated Cooler | Mid 80s | High | Utilize boiling water inside |
Increasing Bread Volume with Proper Techniques
To make a great loaf, increasing bread volume is key. Important methods can help your bread rise well. This means your loaf will be of high quality and make people happy. The loaf’s size is affected by the flour, water, yeast, and the quality of ingredients.
Wheat protein’s quality is very important. It helps form a gluten network. This network holds gas when the bread ferments. This is crucial because it impacts how big the loaf gets. When trying different flours, it’s helpful to know their characteristics. This helps you choose wisely. For instance:
- Whole-wheat flour changes techniques for better bread rise because it’s different.
- Gluten-free options often need extra items like xanthan or guar gum to keep their size.
The dough needs to be strong and stretchy in just the right way. If not, your bread may end up flat. Mixing the dough too much can make it taste bad. Not mixing enough can affect the size. Using the bassinage method, where you add water slowly, can make the dough better. It won’t ruin its shape. This makes the bread easier to handle and the inside lighter.
| Technique | Description | Impact on Volume |
|---|---|---|
| Strong Flour | Use high-protein flour to make a strong gluten network. | Keeps more gas. |
| Long Mixing | Mix the dough well to make the gluten strong. | Makes the dough tougher. |
| Autolyse | Mix flour and water without salt or leavening to make it stretchier. | Makes the dough stretchier. |
| Controlled Hydration | Add water bit by bit to get the perfect dough. | Stops it from getting too wet and makes it easier to work with. |
| Folding Techniques | Use folds during fermentation to make the dough stronger. | Makes it bigger and better textured. |
Finding the perfect mix of strength and stretchiness is key for a light, airy inside. By using these techniques for better bread rise, you can make amazing loaves. It’s all about knowing your ingredients and using the right methods.
Tips and Tricks to Improve Bread Dough Rise
Getting your bread dough to rise perfectly depends on fresh ingredients and the right humidity. The perfect mix of these factors creates delicious, airy loaves.
Ensuring Ingredients are Fresh
Fresh ingredients make a big difference in how well your bread rises. Yeast, in particular, is key. Dry yeast lasts longer but can weaken, whereas fresh yeast is potent but short-lived. Always verify the yeast’s expiration date before use.
Managing Humidity Levels During Rising
Controlling humidity is crucial for good dough performance. A warm, moist environment helps yeast work during the first rise. Aim to keep the dough between 75 to 80 degrees Fahrenheit.
Warm water (110-115ºF) helps add moisture when mixing. For best results, use a proofing box at 80 to 85 degrees Fahrenheit, like professional bakeries do. Watch the dough to prevent overproofing, aiming for a 82 to 83 degrees Fahrenheit dough temperature in cooler conditions.
Conclusion
Making the perfect loaf of bread is a satisfying journey. It involves learning various techniques and understanding key concepts. You’ve learned about yeast, temperature control, and how to knead your dough.
Choosing the right yeast and other rising agents lets you experiment. This can lead to better bread rise. You’ve seen how managing dough conditions, like temperature and humidity, is crucial. For example, the timing for a sourdough starter’s rise can help you plan better.
Knowing the exact water temperature (100-110°F) and the right mix of ingredients is key. It ensures your bread tastes good and has the right texture.
With these tips, your bread-making skills will surely improve. Trying different rising times, methods, and ingredients will be fun. You will enjoy making delicious bread for any event. Plus, you’ll love getting better at this wonderful baking craft. Happy baking!
FAQ
What can I use to make my bread rise more effectively?
Try different leavening agents like baking soda, baking powder, or sourdough starter. Each option helps your bread rise. The choice depends on your recipe and the taste you’re going for.
How does yeast work in the bread-making process?
Yeast is a tiny organism that turns sugars in dough into carbon dioxide and alcohol. This process creates bubbles. These bubbles make the dough rise, giving the bread a soft texture.
What are the differences between dry yeast and fresh yeast?
Dry yeast comes dehydrated and needs water to activate. Fresh yeast, a living thing, must be used quickly. It’s mixed directly into flour.
How can temperature affect my bread’s rise?
The perfect water temperature for waking up yeast is around 110 to 115 degrees Fahrenheit. A warm place during the rise improves the yeast’s work, leading to a better dough rise.
How does kneading help my bread rise?
Kneading builds gluten, which makes bread sturdy. It ensures the dough is smooth and stretchy. This traps gas from yeast, helping bread rise well.
What is the best way to proof bread?
For good proofing, create a steamy place. Do this by putting a bowl of hot water in the oven with the dough. This keeps it moist and warm, helping it rise better.
What are some tips for ensuring my dough rises adequately?
Use fresh ingredients, like yeast, for good results. Control humidity for better yeast work. Warm water in mixing can create a humid environment for your dough.
How can I improve the volume of my bread?
For more bread volume, knead properly and keep yeast and ingredient amounts right. Also, proof the dough well in a place without drafts.

