Ever wondered how to make scallops taste amazing? The secret is in how you prepare them. This guide will show you how to get your scallops ready for cooking. You’ll learn the tricks to make them taste like they’re from a fancy restaurant. so let’s dive to How Do You Prepare Scallops Before Cooking?
Table of Contents
Key Takeaways
- Understand the differences between sea scallops and bay scallops and how to handle each type.
- Learn the importance of thawing and drying scallops before cooking for optimal searing and texture.
- Discover the essential tools and techniques for preparing scallops, including removing the side muscle.
- Explore seasoning guidelines and storage best practices to ensure your scallops are always fresh and flavorful.
- Avoid common mistakes that can lead to rubbery or watery scallops.
Understanding Different Types of Scallops
Scallops are a versatile and delightful ingredient for seafood dishes. But, not all scallops are the same. Each type has its own unique qualities that can change the taste of your dish.
Sea Scallops vs. Bay Scallops
Sea scallops are bigger, about 1-2 inches in diameter. They taste sweet and have a firm texture. Bay scallops, on the other hand, are smaller, around 1/2 inch, and taste delicate and sweet. Bay scallops are often softer and more tender than sea scallops.
Fresh vs. Frozen Scallops
Fresh scallops taste the best and have the best texture. But, they don’t last long. Frozen scallops are convenient and last longer, but they might not taste as fresh. When buying frozen scallops, choose the “dry” kind, which hasn’t been treated with preservatives.
Wet vs. Dry Scallops
Wet scallops are soaked in a solution to keep them moist. Dry scallops haven’t been treated this way. Dry scallops are better for cooking because they taste more natural and sear well.
| Characteristic | Sea Scallops | Bay Scallops |
|---|---|---|
| Size | 1-2 inches in diameter | 1/2 inch in diameter |
| Texture | Firm and meaty | Tender and delicate |
| Flavor | Sweet and succulent | Delicate and sweet |
Knowing the differences between these scallop types helps you choose the right one for your dishes. This ensures you get the texture and flavor you want.
Essential Tools and Equipment for Scallop Preparation
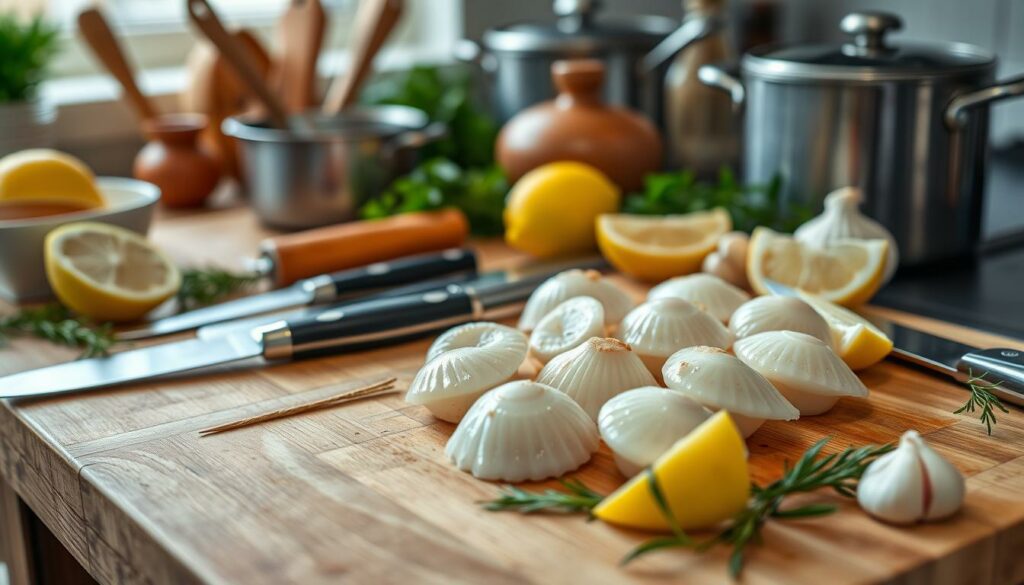
Having the right tools is key for preparing scallops well. Whether you’re a pro chef or a home cook, the right gear makes a big difference. Let’s look at the must-have tools and equipment for perfect scallop prep.
A sharp paring knife is a must for scallop prep. It’s needed to remove the small side muscle from each scallop. A sharp knife is crucial for this task. You’ll also need a clean cutting board to work on.
To rinse and drain scallops, a colander or mesh strainer is handy. Rinsing them under cold water removes sand or impurities. After rinsing, pat-dry the scallops with paper towels or a clean towel to dry them before cooking.
A fish spatula is useful for handling scallops while cooking. Its thin, flexible blade lets you turn and transfer the seafood gently without harming its texture.
Keeping everything clean is vital when working with seafood. Make sure all tools and surfaces are clean and sanitized before and after use to avoid cross-contamination.
| Scallop Preparation Tools | Description |
|---|---|
| Sharp Paring Knife | For removing the side muscle |
| Clean Cutting Board | Provides a safe and hygienic surface for preparation |
| Colander or Mesh Strainer | For rinsing and draining scallops |
| Paper Towels or Kitchen Towel | For pat-drying scallops |
| Fish Spatula | Helps in gently handling scallops during cooking |
With these essential scallop preparation tools and seafood preparation equipment, you’re ready to make top-notch scallop dishes at home.
How Do You Prepare Scallops Before Cooking
Getting your scallops ready for cooking is crucial for top-notch results. First, check if the scallops are fresh and of good quality. They should smell sweet and have a firm, plump feel. If they’re frozen, thaw them in the fridge before cleaning.
Thawing Frozen Scallops
To thaw frozen scallops, put them in the fridge overnight. This slow thaw keeps their texture and taste intact. After thawing, dry the scallops with paper towels to remove excess moisture. This step is important for a good sear.
Basic Cleaning Steps
- Rinse the scallops under cold running water to remove any sand, grit, or debris.
- Carefully inspect each scallop, looking for and removing any remaining bits of shell or membrane.
- Pat the scallops dry thoroughly with paper towels, taking care not to leave any moisture on the surface.
By following these steps, you’ll get your scallops ready for cooking. Whether you’re searing, grilling, or baking, they’ll be perfect. With the right preparation, you can enjoy delicious scallops at home, just like in a restaurant.
Removing the Side Muscle from Scallops
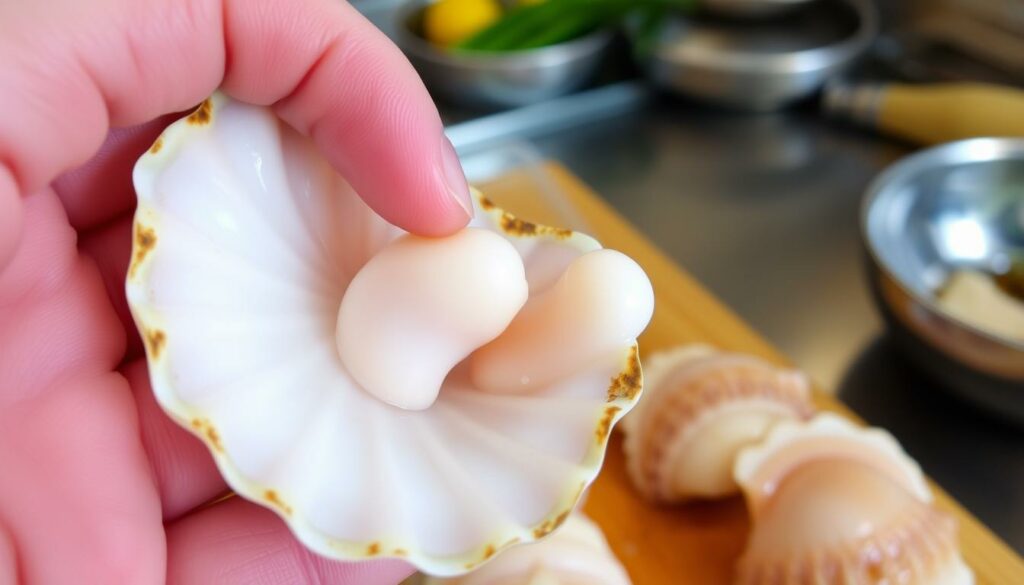
When you’re getting ready to cook scallops, it’s important to remove the side muscle, or “foot.” This small, tough piece of tissue is on the scallop’s side. If you don’t take it off, it can make the scallop chewy and unpleasant. Here’s how to remove it for tender, evenly cooked scallops.
- Look closely at each scallop to find the side muscle, a small, clear strip on the side.
- Use your fingers or a small, sharp knife to gently pull the side muscle away from the scallop. Move it off with a gentle peeling action.
- If it’s hard to pull off, you can use a knife to carefully cut it away. Be careful not to hurt the delicate scallop meat.
Removing the scallop side muscle is key to cleaning scallops before cooking. It makes sure the scallop is tender and tasty. This way, the scallop’s natural sweetness and flavor can really come through.
“Properly removing the side muscle is the key to unlocking the true deliciousness of scallops.”
By following these easy steps, you can get your scallops ready for cooking. This will help make your seafood dishes even better in quality and taste.

Proper Techniques for Drying Scallops
Drying scallops is key to getting them ready for cooking, especially when searing. It helps create a crispy outside while keeping the inside soft and tender.
Pat-Drying Methods
The best way to dry scallops is by gently patting them with paper towels. This method absorbs surface moisture, making them sear better. Just press them lightly to avoid damaging their texture.
Timing and Temperature Considerations
For the best results, let the drying scallops sit on paper towels in the fridge for 10-15 minutes before cooking. This extra time helps remove more moisture, leading to a better sear. But don’t over-dry them, as it can make them tough and rubbery.
| Scallop Type | Taste | Texture | Size |
|---|---|---|---|
| Atlantic Scallops | Sweet, delicate | Firm, buttery | Medium to large |
| Pacific Scallops | Rich, slightly briny | Tender, slightly chewy | Small to medium |
“Proper drying scallops is essential for achieving a good sear. Take the time to pat them dry with paper towels for the best results.”
By using these pat-drying scallops methods, you can make sure your scallops are ready for a delicious sear. They’ll be the highlight of your dish.
Seasoning Guidelines for Scallops
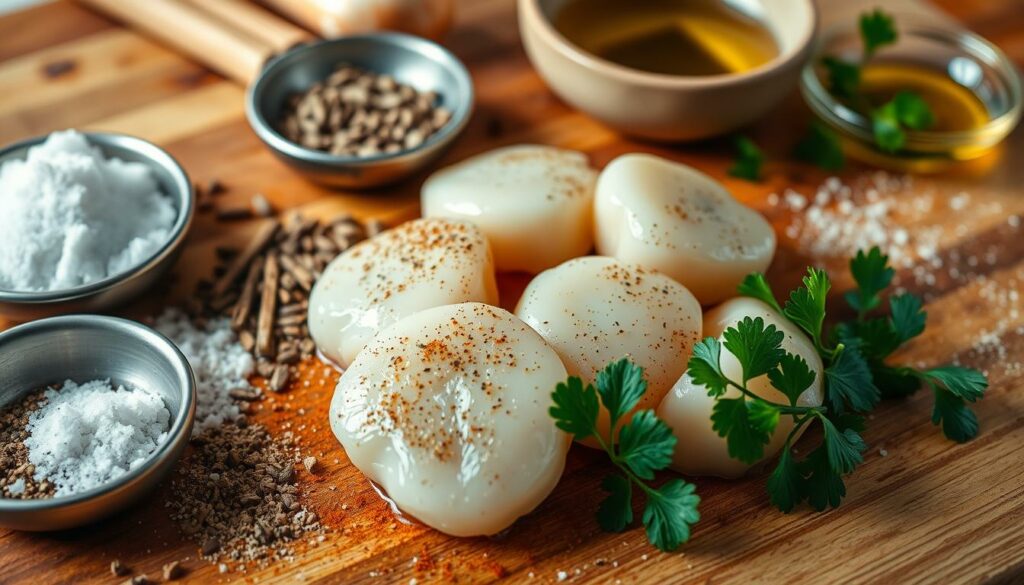
Scallops are a delicate seafood with a sweet flavor. To make them shine, use the right seasoning techniques. Start with salt and pepper, but don’t overdo it. Too much seasoning can hide their natural taste.
Season scallops just before cooking. This stops salt and spices from drying them out. Good flavors to add include:
- Lemon – Fresh lemon juice or zest brightens the dish and balances the scallops’ sweetness.
- Garlic – Minced or roasted garlic adds a savory depth.
- Herbs – Fresh thyme, parsley, or chives add a herbaceous note.
Stay away from strong marinades or sauces. They can overpower the scallop flavors. Instead, let their natural sweetness shine while adding a touch of seasoning.
“The secret to preparing scallops is to let their natural flavors speak for themselves, while gently coaxing out their sweetness with complementary seasonings.”
Follow these seasoning tips to enjoy scallops that are perfectly seasoned and full of flavor.

Storage and Handling Best Practices
Keeping your scallops fresh and safe is key. Here are some important tips for storing them:
Refrigeration Guidelines
For fresh scallops, keep them in the coldest part of your fridge. This should be between 32°F and 38°F. This cool spot helps keep their texture and taste great. Use fresh scallops within 1-2 days for the best taste.
Maximum Storage Duration
Frozen scallops need to be stored at 0°F or below. They can last up to 3-6 months in the freezer. Always check the expiration date and use them before it’s too late for the best taste.
Food Safety Considerations
Always follow food safety rules when handling scallops. Keep them away from other raw foods to avoid contamination. Wash your hands, utensils, and surfaces well after touching the scallops. If you see any signs of spoilage, like a bad smell or color change, throw them away right away.
By following these storage and handling tips, you can enjoy safe and delicious scallops every time. Remember, the right storage is crucial for keeping your seafood fresh and safe.
Common Mistakes to Avoid When Preparing Scallops
Preparing scallops is a delicate task. Even a small mistake can ruin the dish. It’s important to know the common mistakes to avoid. This way, you can make sure your scallops taste great every time.
One big mistake is overcooking the scallops. This makes them tough and taste bad. Scallops cook fast, so use high heat for a short time. This way, they get a nice sear on the outside and stay juicy inside.
Don’t forget to dry the scallops before cooking. Wet scallops won’t sear right. They’ll look steamed instead of caramelized. Dry them with paper towels or a clean towel before cooking.
- Don’t move the scallops too much while they cook. Let them get a good sear on one side. This helps them caramelize better.
- Stay away from using oil with a low smoke point. It can make your scallops taste bad.
By avoiding these mistakes, you can make your scallops taste like they’re from a restaurant. Your guests will be impressed.
Tips for Achieving Restaurant-Quality Results
Getting scallops to taste like they’re from a restaurant is possible at home. The trick is to learn a few key techniques. These bring out the scallops’ natural sweetness and soft texture.
Start by heating your pan very hot. Searing scallops quickly at high heat is key for that golden crust. Cook them for 2-3 minutes on each side, aiming for a soft center. Letting them warm up to room temperature before cooking helps them cook evenly and prevents overcooking.
- Use clarified butter or a mix of butter and oil for the best sear. Butter adds flavor, and oil stops it from burning.
- Finish with a squeeze of fresh lemon juice or a light sauce. This boosts the scallops’ natural sweetness without hiding their taste.
By following these tips, you can make your home kitchen feel like a restaurant. Enjoy cooking scallops like a pro. Serve your scallop recipes with a fresh salad or roasted veggies for a memorable seafood meal.
“Scallops are a delicate and versatile ingredient that can elevate any meal to new heights. With the right techniques, you can achieve restaurant-quality results in your own kitchen.”
Health and Safety Considerations
It’s very important to keep scallops safe and of good quality. Make sure to buy them from trusted suppliers. They should smell sweet and feel firm but slightly moist. Stay away from scallops with a strong fish smell or a slimy feel, as they might be bad.
Food Safety Guidelines
Cooking scallops to 145°F is key to keeping you safe. This temperature helps prevent food sickness. Pregnant women, young kids, and people with weak immune systems should be extra careful with raw or not fully cooked seafood.
Quality Indicators
Look closely at the scallops’ smell and feel. Good scallops smell like the sea and feel firm but not dry. Don’t pick scallops with a bad smell or a dull color. Choosing high-quality seafood means a better and safer meal.
FAQ
What are the different types of scallops and their characteristics?
Scallops vary in size and taste. Sea scallops are big and meaty. Bay scallops are smaller and sweeter. Fresh scallops taste better but don’t last long. Frozen scallops are convenient but not as tasty.
Wet scallops are treated to keep them moist. Dry scallops are better for searing and taste more natural.
What equipment is needed for effective scallop preparation?
You’ll need a sharp knife to remove side muscles. Use paper towels to dry them. Rinse in a colander and cut on a clean board. A fish spatula helps with cooking.
Keep all tools clean to avoid contamination.
How do you properly inspect and clean scallops before cooking?
Check for freshness by smell and feel. Frozen scallops should thaw in the fridge. Rinse under cold water to remove grit.
Pat dry with paper towels for a good sear. Remove any shell bits.
Why is it important to remove the side muscle from scallops?
The side muscle is tough and chewy. It should be removed before cooking. Use fingers or a small knife to pull it off.
This makes the scallop tender and evenly cooked.
How do you properly dry scallops before cooking?
Drying is key for a good sear. Pat dry with paper towels. Let them sit in the fridge for 10-15 minutes before cooking.
This removes excess moisture for a better sear. Don’t over-dry to avoid a rubbery texture.
How should you season scallops before cooking?
Scallops have a delicate flavor. Use salt and pepper but don’t overdo it. Season just before cooking to keep moisture in.
Add lemon, garlic, and herbs like thyme or parsley. Avoid strong marinades that can mask the scallop’s taste.
How should you store and handle scallops to maintain quality and safety?
Keep fresh scallops in the coldest part of the fridge. Use within 1-2 days. Frozen scallops should be stored at 0°F or below and used within 3-6 months.
Follow food safety rules to avoid illness. Keep them away from other foods to prevent contamination.
What are some common mistakes to avoid when preparing scallops?
Don’t overcook scallops to avoid a rubbery texture. Dry them well for a good sear. Don’t move them too much while cooking.
Avoid using oil with a low smoke point to prevent off-flavors.
How can you achieve restaurant-quality seared scallops at home?
Use a hot pan and cook for 2-3 minutes per side. They should be golden brown and have a translucent center. Let them come to room temperature for even cooking.
Use clarified butter or a butter-oil mix for a perfect sear. Finish with lemon or a light sauce to enhance flavor.
What are the health and safety considerations when purchasing and cooking scallops?
Buy scallops from trusted sources. Look for a sweet smell and firm texture. Avoid strong fishy smells or slimy scallops.
Cook scallops to 145°F for safety. Pregnant women, young kids, and those with weak immune systems should be careful with raw or undercooked seafood.

