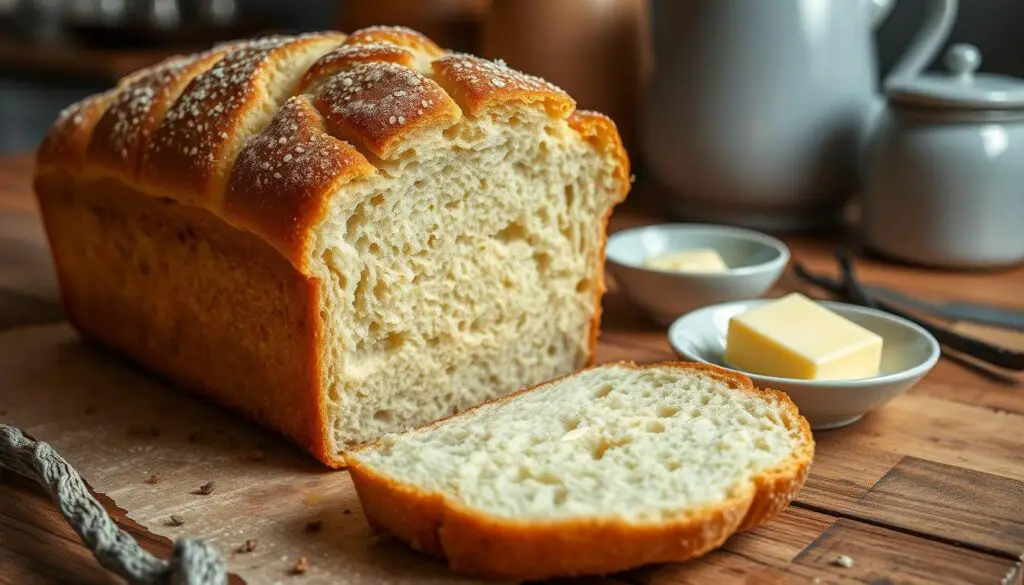
The smell of fresh bread baking is like magic. It reminds you of good times with family. Our vanilla bread recipe is easy to make, using just a few ingredients. Visualize taking a warm loaf out of the oven. The aroma of vanilla and bread fills the house. It’s not just food; it creates a feeling of home.
This vanilla bread is soft and light, similar to brioche but less rich. It’s perfect for many creative ideas. Enjoy it fresh or make amazing French toast with it. Since 2014, making this bread has been a favorite for many. Let’s dive into homemade vanilla bread and see why it’s so loved.
Table of Contents
Understanding the Magic of Vanilla Bread
Vanilla bread is not just a simple recipe. It carries a rich history and baking traditions. Vanilla’s role in baking goes back to the Aztecs. They found its aroma to be a precious addition to dishes. Over time, vanilla moved from being rare to essential in kitchens worldwide.
The History of Vanilla in Baking
The story of vanilla starts in Mexico’s warm climate, grown for centuries. Spanish explorers brought vanilla to Europe, spreading its fame. Soon, vanilla became a key ingredient in desserts like cakes and pastries. It gives a special flavor to homemade recipes, one that store-bought items can’t match.
Why Homemade Bread is Better Than Store-Bought
Choosing to bake vanilla bread at home has many pluses. You get better flavors, freshness, and control over what goes into your bread. In contrast, store-bought bread may have preservatives and fake flavors. Baking at home is also a journey. It lets you try out different ingredients and flavors.
Benefits of Making Your Own Vanilla Bread
Making your own vanilla bread is rewarding beyond just taste. It brings a deep sense of pride and achievement. You can tailor recipes to fit dietary needs, fill your kitchen with wonderful smells, and find joy in the process. Each loaf reflects your personal cooking style, adding something special to your baking skills.
| Aspect | Homemade Bread | Store-Bought Bread |
|---|---|---|
| Flavor | Fresh, customizable | Often artificial |
| Ingredient Control | Full control | Limited control |
| Preservatives | No preservatives | Contains preservatives |
| Experience | Satisfying, therapeutic | Transactional, mundane |
Essential Ingredients for the Perfect Vanilla Bread Recipe
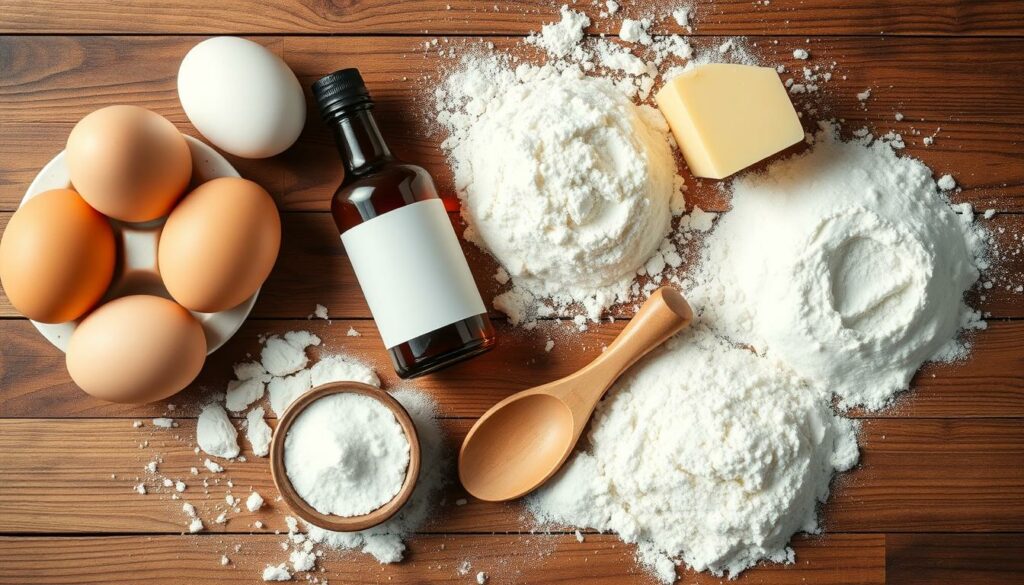
The key to amazing vanilla bread lies in quality ingredients and their perfect blend. Every ingredient is vital for the bread’s flavor and texture. You need the following:
- All-Purpose Flour: It gives your bread structure and texture.
- Granulated Sugar: Adds sweetness and helps create a beautiful crust.
- Baking Powder: This makes sure your bread rises, making it light.
- Salt: It brings out the flavors and balances the taste.
- Vegetable Oil: Keeps your bread moist and slices tender.
- Milk: Adds moisture and helps develop a rich flavor.
- Vanilla Extract: The key player, it gives your bread the signature vanilla taste.
- Eggs: They bind everything together smoothly.
Each ingredient has a special role. For the perfect loaf, choose high-quality items. The vanilla extract, in particular, makes a big difference, taking your bread to the next level.
| Ingredient | Function | Quantity |
|---|---|---|
| All-Purpose Flour | Structure and texture | 1 ¾ cups (225g) |
| Granulated Sugar | Sweetness and crust | ¾ cup (150g) |
| Baking Powder | Leavening | 2 teaspoons |
| Salt | Flavor enhancement | ¼ teaspoon |
| Vegetable Oil | Moisture | ½ cup |
| Milk | Moisture and flavor | ¾ cup (175ml) |
| Vanilla Extract | Flavor | 1 ½ teaspoons |
| Eggs | Binding | 2 large (lightly beaten) |
Choosing the right basic items for your vanilla bread ensures a tasty and satisfying loaf. Starting with top-notch ingredients is key to creating a wonderful treat.
Required Kitchen Tools and Equipment
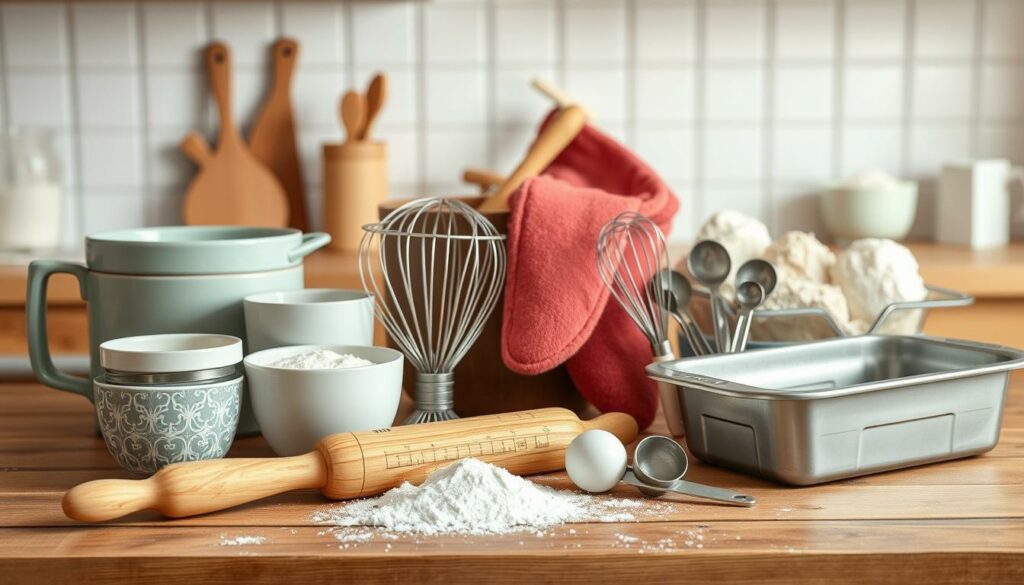
To make delicious vanilla bread, having the right tools is key. You need certain tools for a smooth experience and best results. We will discuss the essential and optional equipment you should have.
Must-Have Baking Tools
Here are the basics for any well-stocked baking kitchen:
- Mixing Bowls: Choose sturdy metal or glass bowls in various sizes to facilitate easy mixing.
- Measuring Cups: A six-piece measuring cup set enables accurate measurements for various ingredient amounts.
- Measuring Spoons: Having a set that includes a tablespoon, teaspoon, ½ teaspoon, and ¼ teaspoon ensures precision.
- Loaf Pan: The most common size is 8 ½ x 4 ½ inches, perfect for creating that classic dome shape.
- Stand Mixer: For quicker mixing, a stand mixer accelerates the process, especially valuable when preparing doughs and batters.
- Baking Sheets: One essential cookie sheet, possibly with raised edges, helps in easy cookie removal.
- Cooling Rack: Use a wire rack for cooling baked goods, which prevents sogginess by allowing air circulation.
- Parchment Paper: This aids in easy cleanup and prevents sticking during the baking process.
Optional Equipment for Better Results
There are also optional tools that can improve your baking:
- Silicone Spatula: Useful for scraping batters out of bowls.
- Offset Spatula: Ideal for applying frosting and achieving smooth finishes.
- Food Processor: Blend ingredients smoothly, making preparation more efficient.
- Digital Kitchen Scale: For recipes requiring precise ingredient weights, this tool is invaluable.
- Hand Mixer: Offers convenience for mixing batters and whipping egg whites without a stand mixer.
- Chef’s Knife: Essential for slicing and chopping various ingredients.
Measuring Tools and Their Importance
Measuring tools are vital in baking. Accuracy affects your final product’s taste and texture. Always measure precisely to ensure your vanilla bread turns out great.
| Tool | Type | Purpose |
|---|---|---|
| Mixing Bowls | Essential | Combine ingredients |
| Measuring Cups | Essential | Accurate volume measurement |
| Measuring Spoons | Essential | Precise measurements |
| Loaf Pan | Essential | Baking bread |
| Stand Mixer | Optional | Mixing doughs/batter |
| Parchment Paper | Essential | Prevent sticking |
Step-by-Step Preparation Process
Making a great loaf of bread needs good planning and setup. This vanilla bread recipe makes it easy, giving you tasty bread with little trouble.
Start by preheating your oven to 350˚F (175˚C). This makes sure the oven is ready. Get your ingredients ready too. You’ll need unsalted butter, sugar, medium-sized eggs, flour, salt, baking powder, and vanilla flavoring like vanilla extract.
Next, get your mixing bowls ready. Cream the unsalted butter and sugar together in a large bowl for about 7 minutes. This creates a fluffy mix by adding air. Then, add the eggs one at a time, blending them in well.
Now, mix the dry and wet ingredients. Add the all-purpose flour, baking powder, and salt to the wet mix bit by bit. This stops the mix from getting too dense.
Pour the batter into a greased loaf pan next. For more flavor, try adding thin butter sticks in the center of the pan. Use a mini offset spatula to spread the batter evenly.
Put the pan in the oven and bake for one hour or until golden brown. Check if it’s done with a toothpick. Let it cool a bit before moving it to a wire rack to cool completely.
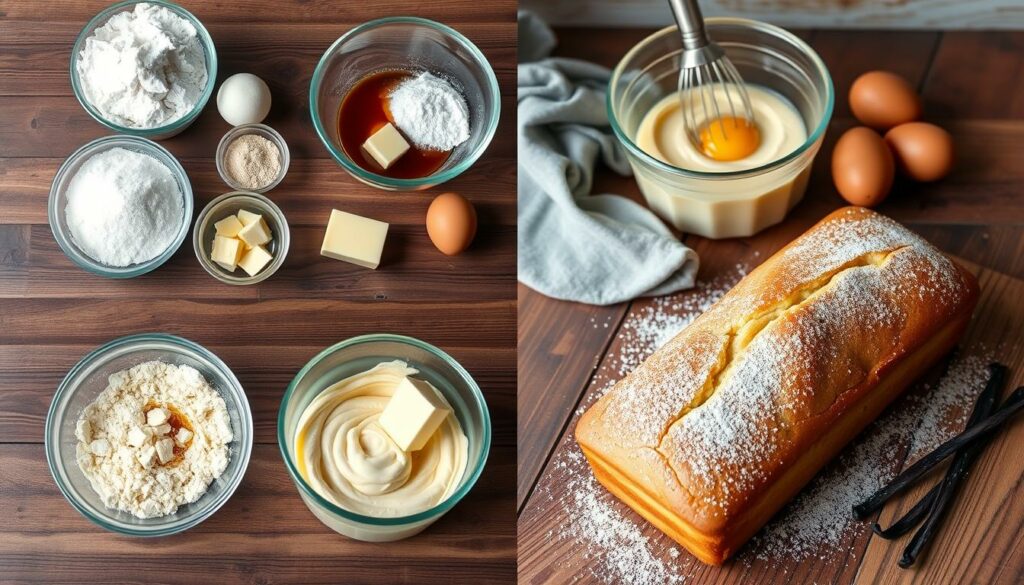
This process guarantees a moist and tasty loaf every time. Making baking fun and rewarding. For more tips on perfecting homemade vanilla bread, visit this site.
Mixing and Kneading Techniques
To bake well, you need to know how to mix and knead dough, especially for vanilla bread. You can do this by hand or with a machine. Both ways have their own benefits for your baking skills.
Hand Kneading vs. Machine Mixing
Hand kneading lets you feel the dough. It takes about 6 to 8 minutes. You stretch and fold the dough to help gluten form. This method is gentle and works well with ingredients like dried fruits or nuts.
Machine mixing is fast and gives consistent dough in 7 minutes. But, it makes the dough warmer by 1°C every minute. This could change how the dough rises.
Signs of Properly Kneaded Dough
To get good vanilla bread, know when the dough is kneaded right. Look for these signs:
- Elasticity: The dough stretches without breaking.
- Smooth Texture: It should look even all over.
- Good Windowpane Test: If you stretch it, it should make a thin layer that lets light through.
These signs mean the gluten in your dough is ready. This will help your bread rise and have a good texture.
Common Kneading Mistakes to Avoid
Some mistakes can ruin your dough. Watch out for these:
- Over-kneading: This makes your dough too hard and your bread too dense.
- Under-kneading: Not kneading enough leaves the gluten weak. This affects how much your bread rises and its texture.
- Skipping Hydration Adjustments: Different flours need different amounts of water. Adjust to get the dough right.
Keep these tips in mind when making vanilla bread for the best texture and balance.
| Technique | Time Required | Temperature Effects |
|---|---|---|
| Hand Kneading | 6-8 minutes | Minimal temperature increase |
| Machine Mixing | 7 minutes | Increases by 1°C per minute |
Proofing and Baking Instructions
Proofing vanilla bread is key to getting that soft, chewy feel we all love. Let the dough rest for about 25 minutes if you’re using instant yeast. But, if you’re using active dry yeast, wait about 90 minutes. This helps get the texture just right.
Keep your dough in a warm place without drafts. This helps the flavor and makes a better loaf. When it’s done rising, get ready to bake. First, heat your oven to 375ºF. Using a Dutch oven or a cast iron skillet is a good idea. They keep steam in, so the crust comes out nicer.
When your oven is hot, put your dough in to bake. It should bake for 25-30 minutes. Whether you used instant or active dry yeast, watch the time closely. When the crust turns golden-brown, it’s done.
Give the bread a few minutes to cool off after baking. This step lets steam out and makes the crust just right. You’ll end up with delicious vanilla bread. It’s great with different toppings or just by itself as a tasty treat.
Creating the Perfect Vanilla Bread Texture
Making perfect vanilla bread involves a few key things. You need to watch gluten development, control the temperature, and manage moisture. Each part is crucial for creating soft, tender bread that’s full of flavor.
Understanding Gluten Development
Gluten development is important in bread-making. It affects your bread’s structure and texture. Good gluten formation makes the loaf elastic and keeps the texture just right. Here are tips for gluten development:
- Use high-protein flour for strong gluten formation.
- Knead the dough until it’s smooth and can stretch without tearing.
- Give the dough enough rest so the gluten can relax.
Temperature Control Tips
Temperature is crucial in baking. The right temperature helps manage moisture, affecting your bread’s texture. Remember these tips for temperature control:
- Preheat your oven to the suggested 350°F for even cooking.
- Use an oven thermometer to keep the heat consistent.
- Try not to open the oven door too much. It can change the temperature.
Moisture Management
Managing moisture is key for the bread’s texture. Too little moisture makes a dry loaf, and too much can make it soggy. Use these approaches for proper moisture management:
- Add ingredients like sour cream to keep the moisture but also maintain structure.
- Watch the baking time to avoid overbaking, which dries out the cake.
- Apply a simple syrup glaze to add moisture and shine to your finished loaf.
By using these techniques, you’ll improve your baking skills. You’ll make tender, perfectly textured vanilla bread to enjoy at home.
Storage Tips and Shelf Life
Proper storage can make your homemade vanilla bread last longer. Usually, vanilla bread stays fresh for two to three days at room temperature. But, with good storage tips, it can last even longer.
First, think about the best way to keep your bread. An airtight container keeps it safe from air and moisture for about three days. For keeping it longer, freezing is the way to go. In the freezer, your bread can keep its delicious taste for three to six months.
Before freezing, slice the bread. This way, you only use what you need, and it stays fresh. Wrap each slice in plastic or put it in a freezer bag. This method protects it from freezer burn. Remember, don’t put vanilla bread in the fridge. It might dry out your bread.
Here’s a quick guide on how to store your bread:
| Storage Method | Shelf Life |
|---|---|
| Room Temperature (Airtight Container) | 2-3 days |
| Freezer (Sliced and Wrapped) | Up to 6 months |
| Refrigerator | Not recommended (dries out bread) |
| Proper Storage in Bread Box | 2-3 days (air circulation) |
Knowing how to store vanilla bread can extend its delightful flavor. Use these tips to make your homemade bread fresh and tasty for a long time.
Troubleshooting Common Problems
Baking vanilla bread is rewarding but can be tricky. Facing common vanilla bread problems helps you grow as a baker. Here are some issues and how to solve them:
- Dense Loaf: Too much flour, over-mixing, or cold ingredients can make your loaf heavy. It might end up gummy instead of light and tender.
- Dry Bread: If it bakes too long or lacks moisture, the bread will dry out. It looks unattractive and crumbles easily.
- Sinking in the Middle: Opening the oven carelessly or underbaking causes the middle to sink. This flaw becomes more evident as the bread cools.
- Sticking to the Pan: Not greasing well or skipping parchment paper makes the bread stick. Always grease well and line the pan with parchment for easy removal.
- Dark Edges: The wrong pan or a crowded oven leads to overbrowned edges. Use light-colored pans and don’t overcrowd the oven.
- Holes or Tunnels: High-speed mixing traps air, causing tunnels. Mix slowly and gently for a perfect texture.
- Crumbling During Frosting: Frosting too soon or with the wrong tools can break the bread. Let it cool completely and use an offset spatula.
Avoiding recipe changes and using the right ingredients prevents troubleshooting vanilla bread issues. Check your leavening agents to keep them fresh. Making mistakes teaches you. Each baking attempt is a step forward in your journey.
| Problem | Causes | Solutions |
|---|---|---|
| Dense Loaf | Too much flour, over-mixing | Measure flour accurately and mix gently |
| Dry Bread | Over-baking, lack of moisture | Monitor baking time and add moisture |
| Sinking in the Middle | Underbaking, slamming oven door | Ensure proper baking time and avoid door slams |
| Sticking to the Pan | Poor greasing, lack of parchment | Grease generously and use parchment paper |
| Dark Edges | Wrong pan material, overcrowding | Use light pans and space baking items properly |
| Holes or Tunnels | Over-mixing, high speeds | Mix gently at moderate speed |
| Crumbling During Frosting | Insufficient cooling, improper tools | Ensure complete cooling and use the right tools |
Conclusion
Making vanilla bread at home is cozy and comforting. It lets you enjoy vanilla’s sweet flavors in your baking. It’s important to find the right amount of vanilla. This makes your vanilla bread taste great without being too strong.
Vanilla can be liquid, powder, or bean. Any form helps make your bread soft and tasty. It goes well with spices and sweeteners.
When baking vanilla bread, try adding new things. Honey, chocolate, or fruits can make it even tastier. Each loaf you bake is a chance to get better at cooking. It also lets you share your special recipes with others.
Baking at home brings a lot of happiness. Every loaf you make is a step toward becoming a better baker.
Sharing your vanilla bread stories can help build a community. This community loves baking and being creative. Your baking journey is special. And making something yummy at home is truly rewarding.
FAQ
What makes homemade vanilla bread special compared to store-bought options?
Homemade vanilla bread is fresher and more flavorful than what you find in stores. With top-notch ingredients and your own touch, you can make moist vanilla bread that fits your taste perfectly.
Can I customize my vanilla bread recipe?
Yes, you can! Making your vanilla bread lets you play with the recipe. Try adding chocolate chips, nuts, or cinnamon for a unique twist.
How do I ensure my vanilla bread stays moist after baking?
To keep your vanilla bread moist, avoid overmixing the batter and stick to the baking time. Store it in an airtight container. Adding a slice of apple or bread in the container helps too.
What tools are essential for making homemade vanilla bread?
You need mixing bowls, measuring cups, and a loaf pan. A stand mixer and silicone spatula are great but optional. They make mixing and transferring batter easier.
How long does homemade vanilla bread last?
Properly stored in an airtight container at room temperature, vanilla bread lasts 3 to 5 days. Freezing it extends its life to three months.
What are common mistakes to avoid when making vanilla bread?
Avoid overmixing the batter, not proofing the dough, and inaccurate measuring. Paying attention to each step ensures great results.
How can I thaw frozen vanilla bread?
To thaw, leave the vanilla bread at room temperature for a few hours or overnight. If you’re in a hurry, microwave it on low power. But don’t overheat it.

