

Introduction
Making homemade chocolates is a fun and rewarding experience, whether you’re crafting them for gifts, special occasions, or just to satisfy your sweet tooth. The secret to professional-looking chocolates? Chocolate moulds! These handy tools help shape chocolates into elegant designs while ensuring a smooth and glossy finish.
In this guide, I’ll walk you through the process of using chocolate moulds effectively, from choosing the right ingredients to proper storage. Plus, you’ll find tips for avoiding common mistakes and creative variations to customize your chocolates.
Table of Contents
Ingredients and Substitutions
To make homemade chocolates using chocolate moulds, you’ll need:
Basic Chocolate Recipe:
- 200g high-quality chocolate (dark, milk, or white) – use couverture chocolate for the best results
- 1 tsp cocoa butter (optional, for added smoothness)
- ½ tsp vanilla extract (optional, for enhanced flavor)
- Pinch of sea salt (balances sweetness)
Optional Add-Ins & Variations:
- Chopped nuts (almonds, hazelnuts, or pecans)
- Dried fruit (cranberries, cherries, or raisins)
- Caramel or peanut butter filling
- Sea salt flakes for a gourmet touch
- Flavored extracts (peppermint, orange, or almond)
If you don’t have cocoa butter, you can skip it, but it helps create a smoother, shinier finish.
Step-by-Step Instructions
1. Prepare Your Chocolate Moulds
- Ensure your chocolate moulds are clean and dry. Any moisture can cause chocolate to seize.
- Lightly polish plastic or silicone moulds with a soft cloth for extra shine.
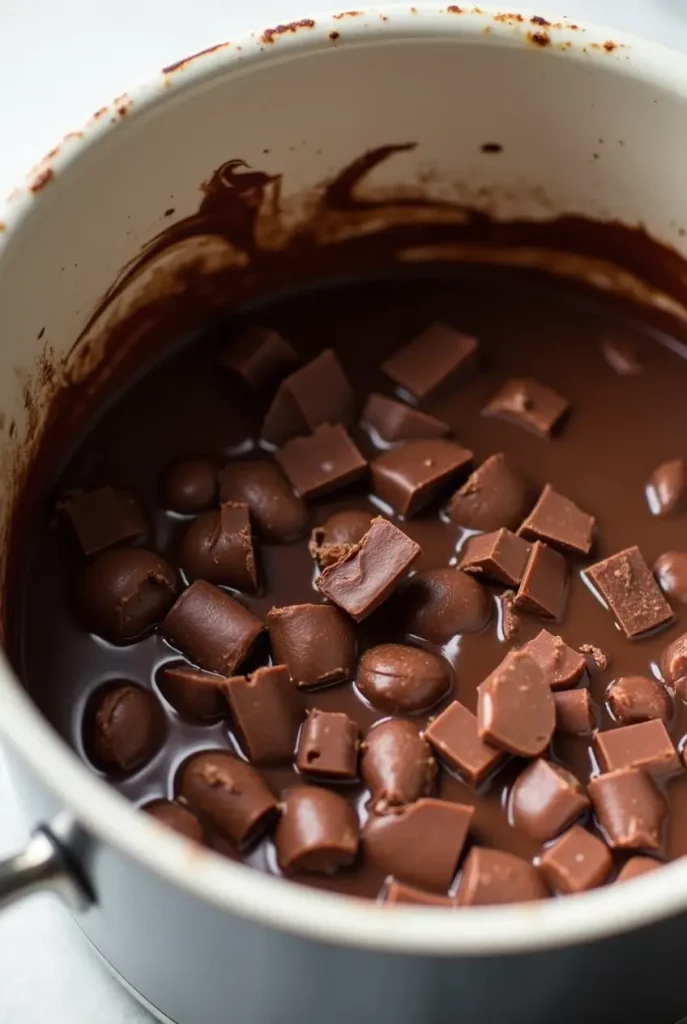
2. Melt the Chocolate
- Using a double boiler:
- Chop the chocolate into small pieces for even melting.
- Place a heatproof bowl over a saucepan of simmering water (ensure the bowl doesn’t touch the water).
- Stir gently until the chocolate is fully melted and smooth.
- Using a microwave:
- Microwave the chopped chocolate in 20-second intervals, stirring in between.
- Stop heating once it’s about 75% melted, then stir until fully melted.
3. Temper the Chocolate (Optional but Recommended)
Tempering helps chocolates set with a glossy finish and a firm snap.
- For dark chocolate: Heat to 45°C (113°F), cool to 27°C (80°F), then reheat to 31°C (88°F).
- For milk/white chocolate: Heat to 40°C (104°F), cool to 26°C (79°F), then reheat to 29°C (84°F).
4. Fill the Moulds
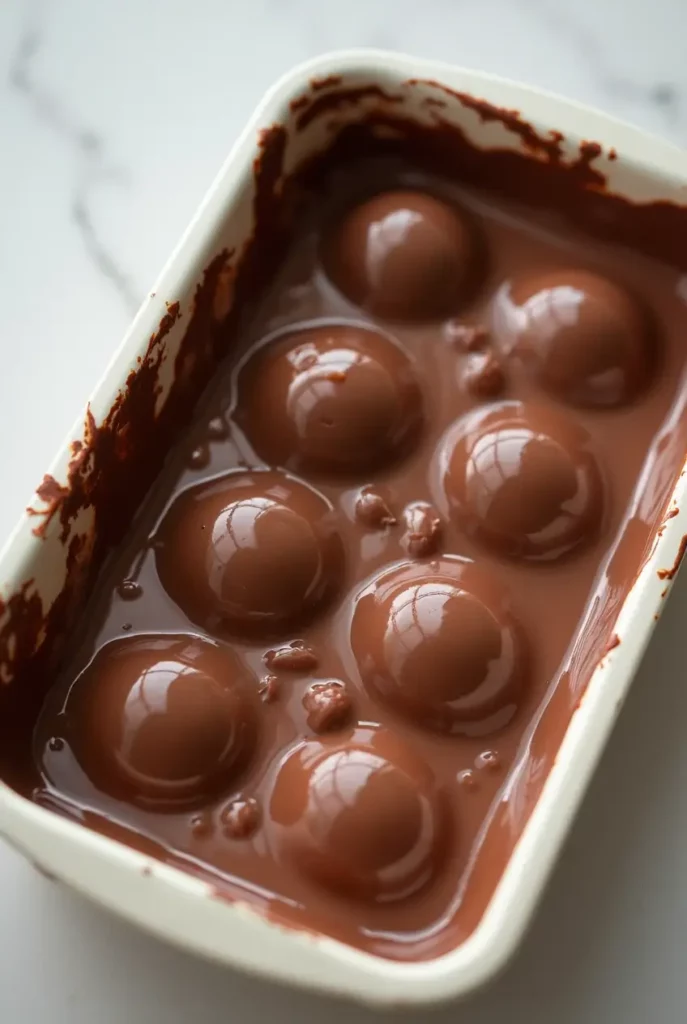
- Pour the tempered chocolate into your chocolate moulds using a spoon or piping bag.
- Tap the mould gently on the counter to release air bubbles.
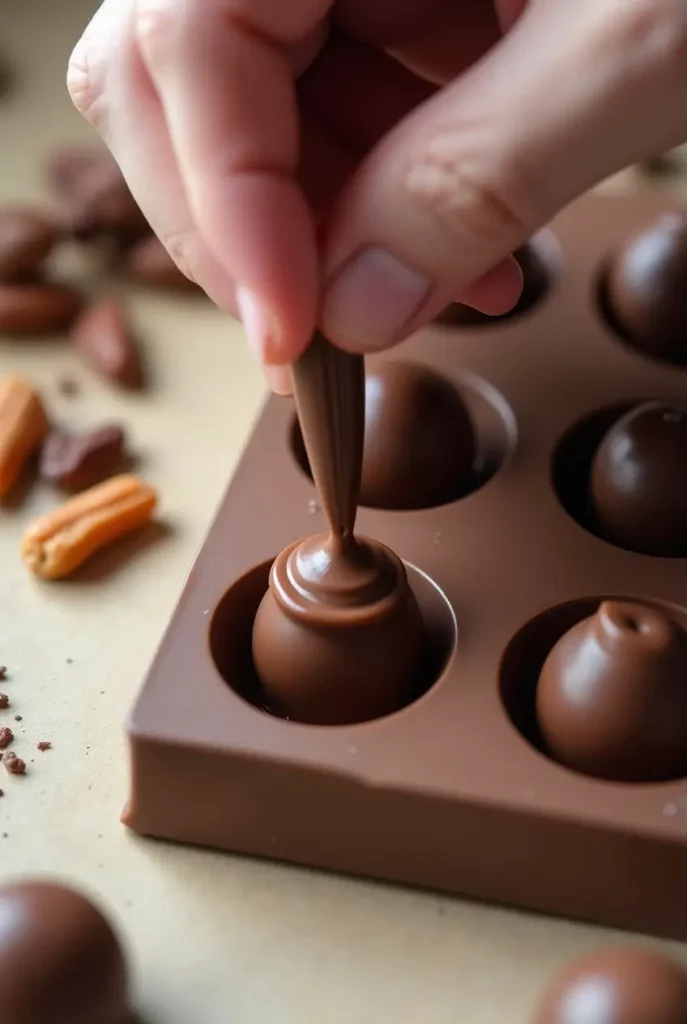
- If making filled chocolates, coat the moulds with chocolate, let set, add the filling, then cover with more chocolate.
5. Chill and Set
- Refrigerate the moulds for 15-30 minutes or until the chocolate is firm.
- Avoid freezing, as it may cause condensation and dull the surface.
6. Unmould the Chocolates
- Once fully set, gently tap or twist the mould to release the chocolates.
- If chocolates stick, chill them for a few more minutes before trying again.
Tips and Variations
- Shiny Chocolates: Always temper chocolate for a glossy, professional look.
- Flavor Enhancements: Try adding orange zest, espresso powder, or chili flakes for unique flavors.
- Marbled Chocolates: Swirl dark and white chocolate together in the moulds before setting.
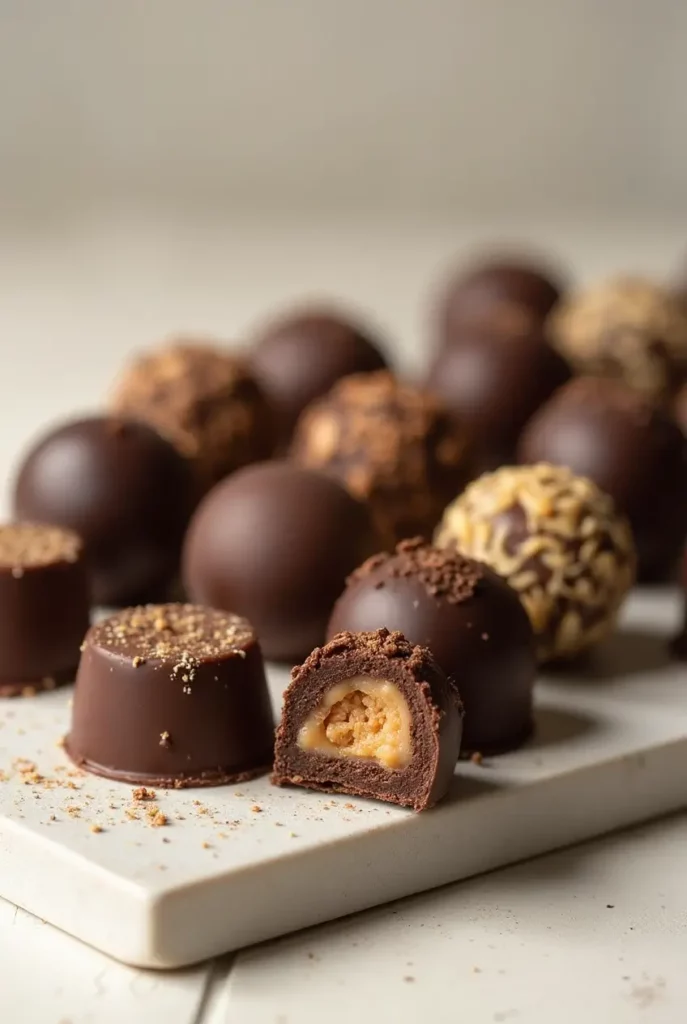
- Filled Chocolates: Experiment with caramel, peanut butter, or ganache fillings.
Storage and Reheating Instructions

Storage:
- Store chocolates in an airtight container at cool room temperature (16-18°C or 60-65°F) for up to 2 weeks.
- Avoid storing in the fridge unless necessary (moisture can cause bloom, making chocolates look dull).
Reheating Chocolate for Moulding:
- If reheating leftover chocolate, use a gentle heat source like a double boiler.
- Avoid microwaving for too long, as overheating can ruin the texture.
I’d love to hear from you! Have you tried making chocolates with chocolate moulds? Share your experience, favorite variations, or any questions in the comments below! 🍫✨
FAQ
Q1: What is the best mould for chocolate making?
The best moulds for chocolate making are polycarbonate moulds, as they create a glossy finish and release chocolates easily. Silicone moulds are also great for beginners but may produce a slightly less shiny surface.
Q2: Do chocolate moulds need to be greased?
No, do not grease chocolate moulds. Properly tempered chocolate naturally releases from the moulds without sticking. Greasing can affect the texture and appearance.
Q3: Can I just melt chocolate and put it in a mold?
Yes, but if you don’t temper the chocolate, it may turn dull and soft instead of firm and glossy. Tempering is highly recommended for best results.
Q4: What chocolate to use for chocolate moulds?
Use high-quality couverture chocolate for professional results. Brands like Callebaut, Valrhona, or Ghirardelli work well. Regular chocolate chips contain stabilizers and may not melt smoothly.

Chocolate Moulds: How to Make Perfect Homemade Chocolates
- Total Time: 30 minutes
- Yield: 20 chocolates 1x
- Diet: Vegetarian
Description
Making homemade chocolates is fun and rewarding! Learn how to use chocolate moulds to create professional-looking chocolates with a smooth, glossy finish. This guide covers everything from tempering to creative flavor variations.
Ingredients
Basic Chocolate Recipe:
- 200g high-quality chocolate (dark, milk, or white) – use couverture chocolate for best results
- 1 tsp cocoa butter (optional, for added smoothness)
- ½ tsp vanilla extract (optional, for enhanced flavor)
- Pinch of sea salt (balances sweetness)
Optional Add-Ins & Variations:
- Chopped nuts (almonds, hazelnuts, or pecans)
- Dried fruit (cranberries, cherries, or raisins)
- Caramel or peanut butter filling
- Sea salt flakes for a gourmet touch
- Flavored extracts (peppermint, orange, or almond)
Instructions
- Prepare Your Chocolate Moulds
- Ensure your chocolate moulds are clean and dry. Any moisture can cause chocolate to seize.
- Lightly polish plastic or silicone moulds with a soft cloth for extra shine.
- Melt the Chocolate
- Using a double boiler:
- Chop the chocolate into small pieces for even melting.
- Place a heatproof bowl over a saucepan of simmering water (without touching the water).
- Stir gently until the chocolate is fully melted and smooth.
- Using a microwave:
- Microwave chopped chocolate in 20-second intervals, stirring between each.
- Stop heating once 75% melted, then stir until fully melted.
- Using a double boiler:
- Temper the Chocolate (Optional but Recommended)
- For dark chocolate: Heat to 45°C (113°F), cool to 27°C (80°F), then reheat to 31°C (88°F).
- For milk/white chocolate: Heat to 40°C (104°F), cool to 26°C (79°F), then reheat to 29°C (84°F).
- Fill the Moulds
- Pour the tempered chocolate into moulds using a spoon or piping bag.
- Tap the mould gently on the counter to release air bubbles.
- If making filled chocolates, coat the moulds first, let set, add filling, then cover with more chocolate.
- Chill and Set
- Refrigerate the moulds for 15-30 minutes or until the chocolate is firm.
- Avoid freezing, as it may cause condensation and dull the surface.
- Unmould the Chocolates
- Once fully set, gently tap or twist the mould to release the chocolates.
- If chocolates stick, chill them for a few more minutes before trying again.
Notes
- Shiny Chocolates: Tempering is key for a professional finish.
- Flavor Enhancements: Add orange zest, espresso powder, or chili flakes for unique flavors.
- Marbled Chocolates: Swirl dark and white chocolate together before setting.
- Storage: Store in an airtight container at 16-18°C (60-65°F) for up to 2 weeks. Avoid refrigeration if possible.
- Prep Time: 15 minutes
- Cook Time: 15 minutes
- Category: Dessert
- Method: Moulding, Tempering
- Cuisine: International
Nutrition
- Calories: 120 kcal
- Sugar: 8g
- Sodium: 10mg
- Fat: 8g
- Saturated Fat: 5g
- Carbohydrates: 10g
- Protein: 1g
Keywords: homemade chocolates, chocolate moulds, tempered chocolate, filled chocolates, easy chocolate recipe